Selling 101
Basic Supplies
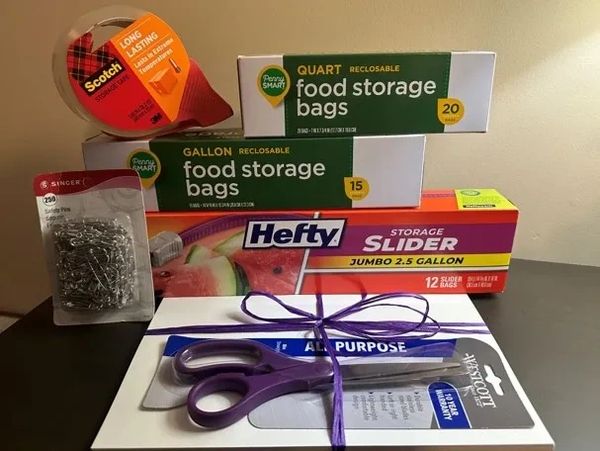
The supplies you will need to have the best seller experience includes: Various sizes of safety pins; plastic or wire hangers; various sizes of plastic bags for accessories, toy pieces, some shoes, some books; & packing tape for attaching tags to bags and toys. If you do not take us up on our tag printing service, you will need cardstock, scissors, and a highlighter corresponding to your seller number (see color-coding information under the Registered Sellers tab).
Hangers
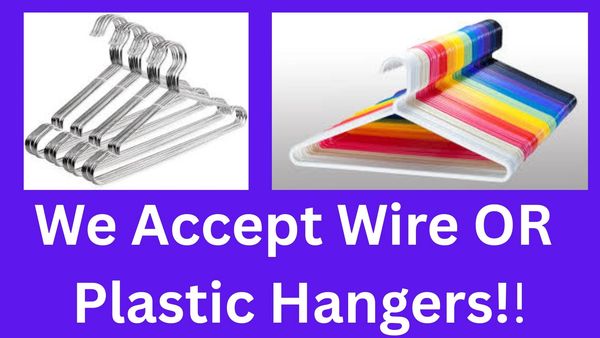
As of the Spring sale, we were made aware that is was becoming harder and harder to find wire hangers. The committee made the decision to accept both wire and plastic hangers. Please see the instructions for both types of hangers under the Seller Instructions 1 & 2 tabs. Especially if you have new items still on the original kid hangers.
Printing Your Tags
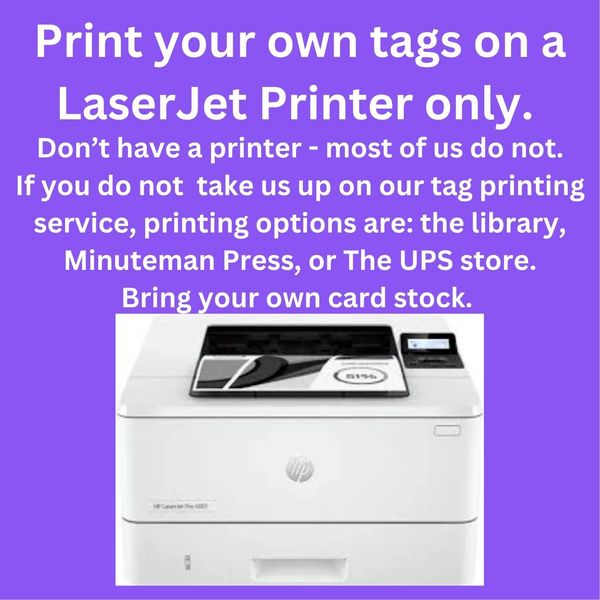
If you do not take us up on the tag printing service, please be sure to follow these instructions. Your tags must be printed on cardstock (the lowest weight is fine). Cardstock can be bought from Amazon or Walmart at decent prices. ONLY use a Laser Jet printer for your tags. Now that we are offering tag printing services, if your tags do not scan at check-in, sellers will be asked to either reprint and retag their items or we will print them onsite for a $15 fee and the seller will be responsible for retagging their items before leaving.
Remember we are implementing color-coding for seller numbers this sale. See the examples under the Register to Sell and Registered Sellers tabs.
Seller Hanging Guidance for Shirts

When hanging ALL of your items, ensure the hanger is facing as pictured. It should resemble a question mark (?).
Pinning items to the hanger ensures the item does not fall from the hanger. This is especially critical for shirts that can easily slide from edge to edge of the hanger.
Tag goes on the front left of the item (on the right if looking at the item). It goes "over" the logo.
Safety pins do not need to go at the very tip of the item. By putting more of the fabric in the safety pin, you ensure the item will not slide as much on the hanger.
Also, place the safety pins more toward the middle of the hanger sides and closer to the top of the items collar to ensure the item does not slide as much.

For items that have buttons, snaps, zippers, - use them to make the item look more presentable. Items that are hanging beautifully on the hanger will sell better than items that are limp or look messy. In this example, the hood was pinned in a way you could see the detail. Sometimes it is the little things that help an item to sell. Think about what you look for when you are shopping.
Hanging Something that Slides? That May Not Stay on a Hanger??
Certain items love to slide on the hanger, no matter how many pins we use. This makes your item lose it's appeal if the customers cannot see the item for what it is.
A little trick is to take a small piece of tape (masking, duct, Scotch, packing...) and put it over the hanger.
Then put the safety pin through the garment and the tape. No more sliding! This can be done with pants, shirts, swim suits, baby carriers, and other items. This is not just handy for shirts!
Hanging Guidance for Pants - Please button your buttons and zip up those pants (they look nicer)!
Pants can be the jester of the consignment items. The volunteers will tell you we spend more time re-pinning pants than any other item. When hanging pants, please ensure your safety pins are no farther than halfway down the hanger. Putting the safety pins at the ends of the hangers causes the pants to shift too much and the safety pins to fall to the bottom of the hanger. See above on tape tips.
When hanging pants, try to put as much fabric in the safety pin as possible. Do not put the safety pin at the tip of the fabric. Putting only a little bit of fabric in the safety pin causes the safety pin to "pop" and the item to fall off the hanger. Even if you have large safety pins for jeans / pants, be sure to put as much fabric as you can in the safety pin. See above for tips on using tape.
Another option with heavy items, like jeans, is to use two pins so the item does not slide off the hanger or pop the pin. Items that are not hanging nicely on the racks are passed over. Volunteers spend more time repining pants than any other task. We want your items to sell! Take the time to hang them well. And consider using tape to secure the item to the hanger. See above .
Hanging Guidance for Sets & Multiple Clothing Items SETS MUST BE Of THE SAME SIZE!
When hanging sets, place the front garment on the hanger. Attach the second garment to the back of the front garment. Best practice is to have the front of the second garment facing out so buyers can see it.
Again, ensure you have as much fabric as possible in the safety pin to prevent the pin from popping.
SETS MUST BE OF THE SAME SIZE. Sets not of the same size won't be placed on the floor.
Infant and baby items MUST have the hanger through the sleeves. Yes, we know it looks funny & some baby clothes are harder to get on hangers than others. But, we need them fully on the hangers so we can read the tags and the item hangs cleaner on the rack. If you are putting multiple clothing items as one, place the top item through the hanger and pin the other items to the back of the top item.
And sellers love bundles - especially for onsies! Treat these the same as above. Put the first onsie through the hanger and then attach the other onesie(s) to that garment with safety pins.
Remember - SETS MUST BE OF THE SAME SIZE!! But they do not have to be the same brand. That is a seller / buyer preference.
Packaging Guidance for Shoes

Shoes must be placed into bags. Most shoes fit into gallon size bags. Generic brand bags are best and usually do not have logos.
Tags must be either pinned or taped to the INSIDE of the shoe bag. Ensure the tag, especially the barcode, is readable and scannable.
Shoes should be clean. A little wear is okay but shoes that are dirty or have holes will not be accepted.
Smaller shoes fit easily into a gallon size Ziploc bag. Make sure the shoes are visible in the bag. If the bag has a logo, put the logo to the back of the item.
With the smaller shoes, you can roll the bag down and seal the bag so the shoes do not move around.
All bags must be sealed with packing tape to ensure the bag does not come open. Consider having the tag on the back of the item.
Larger shoes should also fit into gallon size Ziploc bags. For even larger shoes, two bags can be taped together or you can use the largest bags, 2.0 -2.5 gallon size (available at grocery stores, Target, & Amazon). Again, all bags should be sealed with packing tape and the tag pinned or taped to the INSIDE of the bag.
Consider putting the tag on the back of the bag to show off your item.
Guidance for Packaging Accessories & Items with Multiple Pieces
When packaging items in Ziploc bags, try not to cover your item with the bag's logo. You want the buyers to be able to see all of your item.
Smaller accessory items should be placed into Ziploc bags. Make sure the tag does not cover your item. Seal the bag with packing tape. If there is another aspect of the item you want the buyers to see, make sure it is visible (like new with tag) .
For items with multiple pieces, place the pieces into a bag and attach them to the largest piece (if there is one) or just have them all in a bag. Ensure the tag is pinned/taped to the INSIDE of the bag and the bag is sealed with packing tape. In this example, a picture was used to show the bag contents. This is not needed for items like Mega Blocks or doll accessories. Just for unusual items.
Some Examples for Packaging Toys
While we prefer for tags to be taped to items, for toys with unusual shapes, try pinning the tag to the item. This is another reason we request cardstock for the tags. Even a loose tag like this can stay scannable if bumped around a little bit. Also, please use as much description on your tags as possible. That way if a tag does come off, or gets damaged, we can reunite your tag with your item.
For items with loose pieces or pieces that can be removed, we recommend placing the loose items in a ziploc bag and attaching them to the item. Place the tag inside the ziploc bag and tape the bag to the item. Make sure the bag will not easily be separated from your item. Again, using a clear description on your tag ensures we can reunite tags and items that get separated.
If you have items with pieces that can open or move, you have the option to tape or zip tie the item so those parts do not move.
If you do tape an item, make sure you do not put tape on things, like stickers, that the tape could then damage.
Tape tags to parts of the item where the tape would not damage the item and the tape can be taken off easily by the new owner.

Car Seats
Car seats must have the current Car Seat Information Form attached to the car seat. Car seats cannot be accepted without this form completed and attached to the car seat.
Books, Books, & Books
We recommend that you put your books in some type of bag or saran wrap. Secure the tag inside the bag with a pin or tape & then secure the bag with packing tape.
If you have a book that contains things like stickers (as in this example) or a pop-up book, we will insist that the book be in a bag so little hands do not remove any of the contents or damage the book.
If you choose not to put your books into a bag that will be allowed. BUT, please understand we will not be responsible for books damaged from customers looking at the book or putting the books on and off the shelves.
Please also keep in mind you will need to secure the tag to the book with packing tape. Think about how much damage the packing tape will do the book when removed by the buyer.
If selling multiple books together, they must be secured with either packing tape (consider the damage to the books), in a bag, or in multiple bags taped together. Make sure the tag is taped or pinned to the inside of one of the bags or under the tape.
Make sure you can see as much of each of the books as possible. For two books, consider putting them back to back. Tape the bag at the opening.
How to Package Other Unusual Items
When you have items with cords, cables, or accessories, place all of the items in a Ziploc bag and secure the bag. Consider folding the bag down and taping the bag tight to keep the item and the accessories from moving around.
If you have an item that is new in box or you have the original box, make sure the parts of the box that could come open are taped shut so the item does not come separated from the packaging.
When putting your tag directly on your item - this includes boxes and bags too - try to put the tag in a location where you do not cover name brands or other important information about your item. In this photo, the brand name and size were not covered up but left exposed.